Maytag manufactures quality and durable home appliances that are sold all over the world. They have won a good reputation, so the products are popular. Despite the high quality, household appliances still break down over time. Consider the common failure problems of the Maytag brand dryer, namely, non-working heating. It is not always necessary to call a specialist; some malfunctions can be fixed on their own if you know the reasons.
Faulty thermal switch
One of the most common reasons why the dryer has stopped heating is a faulty thermal switch. This breakdown is non-critical, so you can return the performance yourself, without involving the master.
Repair can be done by anyone with basic skills in repairing household appliances. A faulty thermal switch needs to be replaced, so first you need to find the necessary part. They are sold on the Internet or in the corresponding offline stores. We will need a thermal cut-off kit, which has everything you need to fix the breakdown of the dryer (switch and thermostat).
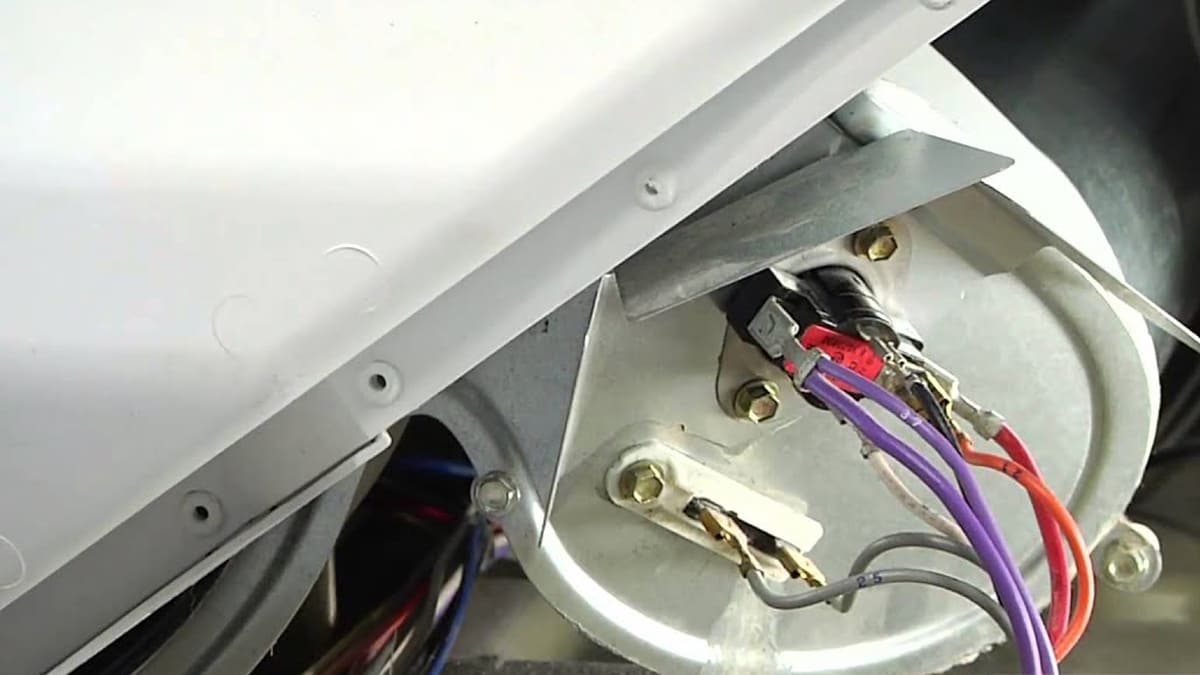
As a tool, you need to prepare a ¼ socket wrench and a flat-tip screwdriver. First you need to free up space around the dryer, if necessary, pull it out to open access to the back cover. The thermal switch is on the top and the thermostat is on the bottom.
Before repairing household appliances, do not forget to unplug it from the mains so as not to get injured. Also disconnect all hoses leading to communications.
Using a screwdriver, you need to disconnect the wires from the old thermal switch, unscrew the screw holding it. A new switch is installed in the vacant place, wires are attached to it. You also need to replace the thermostat. After that, the back cover is installed in place. To check the performance, you need to connect the dryer to the network and start it.
Thermal fuse blown
Maytag dryers usually have several features to keep the dryer from overheating. To do this, the technique has built-in fuses that control the “situation”. If the dryer has stopped heating, one of the safety devices may have blown or failed due to normal wear and tear after a long period of use.
The malfunction may be repairable or a complete replacement of the part will be required if it is burned out. A new thermal fuse must be ordered or found in local stores. To replace the part, you need to prepare a ¼ wrench and a flat screwdriver. Other tools won’t work.
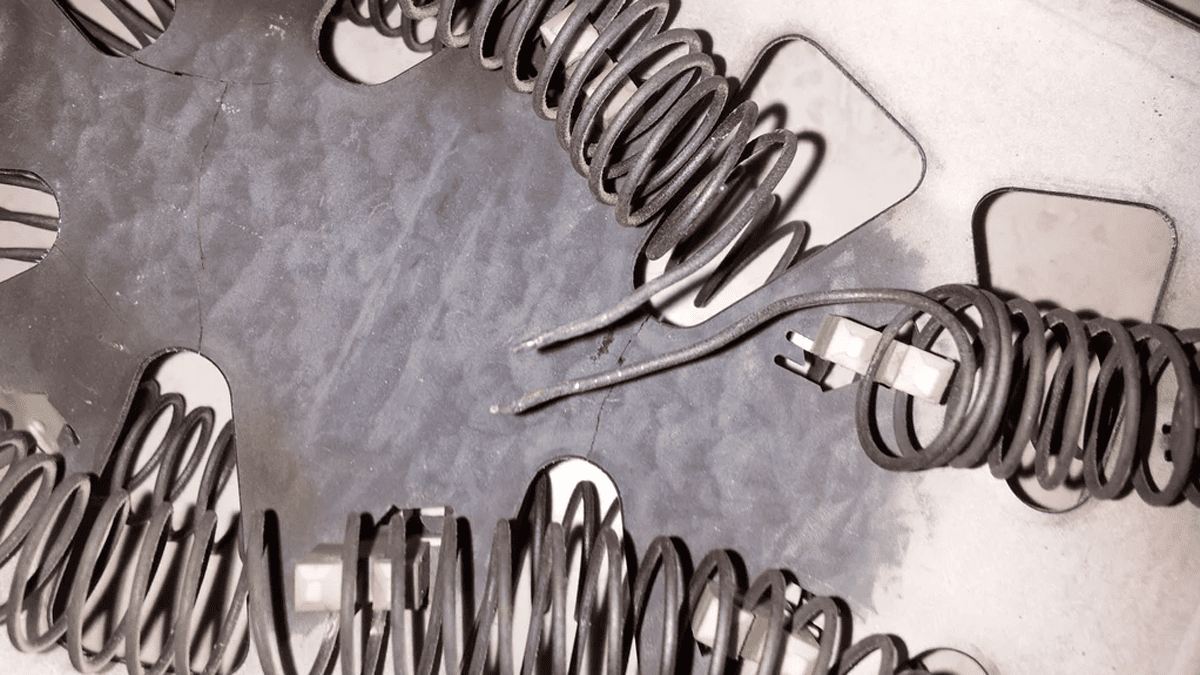
First you need to get free access to the back of the dryer to disconnect the hose and open the lid. After that, you need to find the old fuse, which is usually located at the bottom of the drying fan impeller.
Before ordering a new part and making a replacement, you should make sure that this particular element of household appliances is faulty. This will allow you to establish the true causes of the breakdown and save money.
Use a flat screwdriver to disconnect the wires, unscrew the retaining screw, and replace the part with a new one. When everything is screwed back, the dryer is checked for operability. If the problem was in the safety devices, then the dryer will work like new.
Burnt out heating element
Another common problem with Maytag dryers and other brands is that they stop heating because the heating element has burned out. At the same time, the equipment can work, start the drying cycle, carry it out completely, but as a result, you get wet, undried laundry.
If you suspect that the heating element has burned out, you can check it with a multimeter. When the malfunction of the part is confirmed, you can proceed with specific actions – its replacement.
Repairs can be done quickly and with your own hands. To do this, you need to act according to the following algorithm:
- Unplug the dryer from the mains, make room on the back and remove the cover.
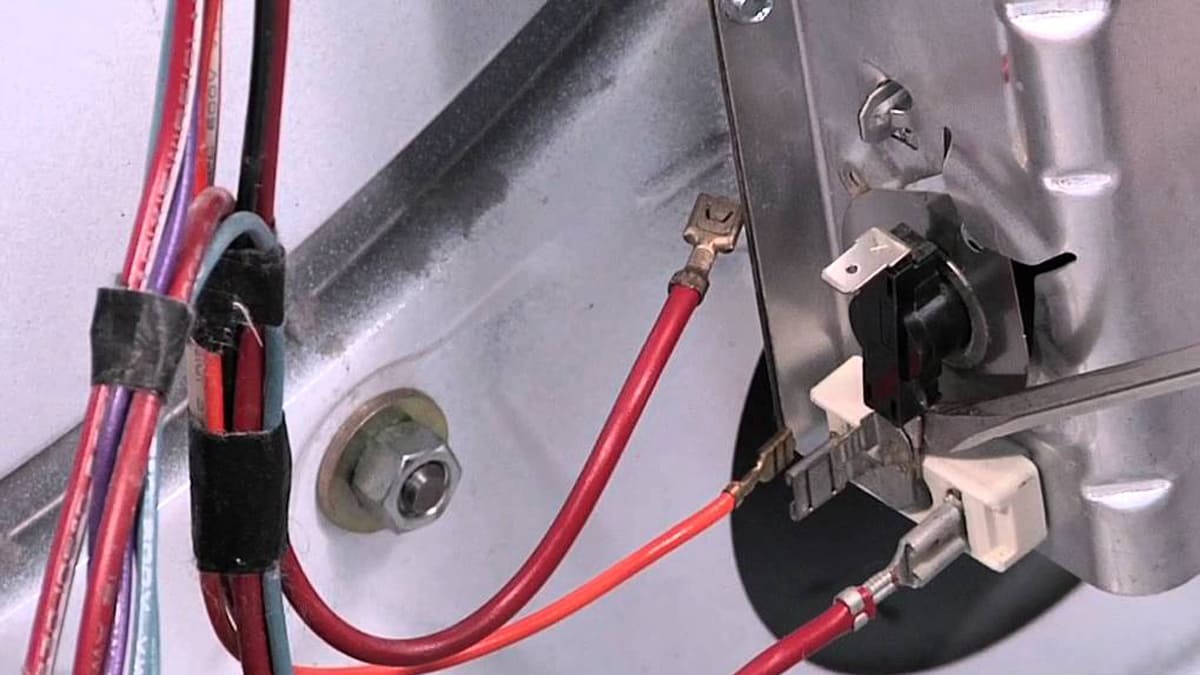
- Locate the heating element block located at the bottom.
- Disconnect the wires going to it and the retaining screws.
- Pull the heating element assembly down and out of the dryer.
- Next, you need to remove the thermostat from the heating element and put a new one in its place.
- Replace the heating block with the new thermostat, tighten the screws and connect the wires.
- Screw on the back cover, connect the dryer and run it to check if it works.
Repair of a machine that requires replacement of the heating element will take very little time. The main difficulty is to find the necessary parts, which may not be available in local stores and you will have to wait for the delivery of the purchase from the Internet.
Hi-Limit tremostat failed
The Hi-Limit thermostat controls the temperature of the dryer and the heating element. If it is out of order, then the heater will not turn on, respectively, things will not dry, since the dryer does not heat up.
You can determine the breakdown of this element using a multimeter. If the fault is confirmed, the part must be ordered. To do this, you can try to contact the official representatives of the company and the service of Maytag household appliances. You can also try to find a Hi-Limit thermostat on the Internet at various sites.
If you are not sure that you can disassemble the dryer, replace faulty parts and put it back together, it is better to entrust the work to the masters. You will have to overpay a little for repairs, but this way you will be sure that you will not break the equipment and aggravate the problem.
When you have the part, you can start replacing the faulty Hi-Limit thermostat with a new one:
- Disconnect the dryer from the power supply.
- Provide access to the rear of the equipment, move it if necessary.
- Disconnect the outlet hose.
- Loosen the rear cover screws with a ¼ wrench, remove them and set aside.
- The Hi-Limit thermostat is located on the heating element block at the bottom of the dryer, two wires must be disconnected from it using a flat screwdriver.
- Using a ¼ wrench, loosen the retaining screw and remove the old thermostat.
- Install a new thermostat and tighten the screw.
- Attach the wires to the new part.
- Screw on the rear covers, attach the outlet hose.
- Install the dryer in place, connect to the power source, check the operation.
Simple and easy do-it-yourself repairs will help save money. Replacing old parts is not difficult, for those who are at least a little versed in home appliances. Our advice and recommendations will help to establish the cause of the breakdown and carry out repairs with your own hands.